Settings
CS2 Crosshair Changed? Check Size and Resolution
Troubleshoot CS2 crosshair changes by checking pixel settings, display resolution, and the age of a saved code before replacing your setup.
Sources checked .
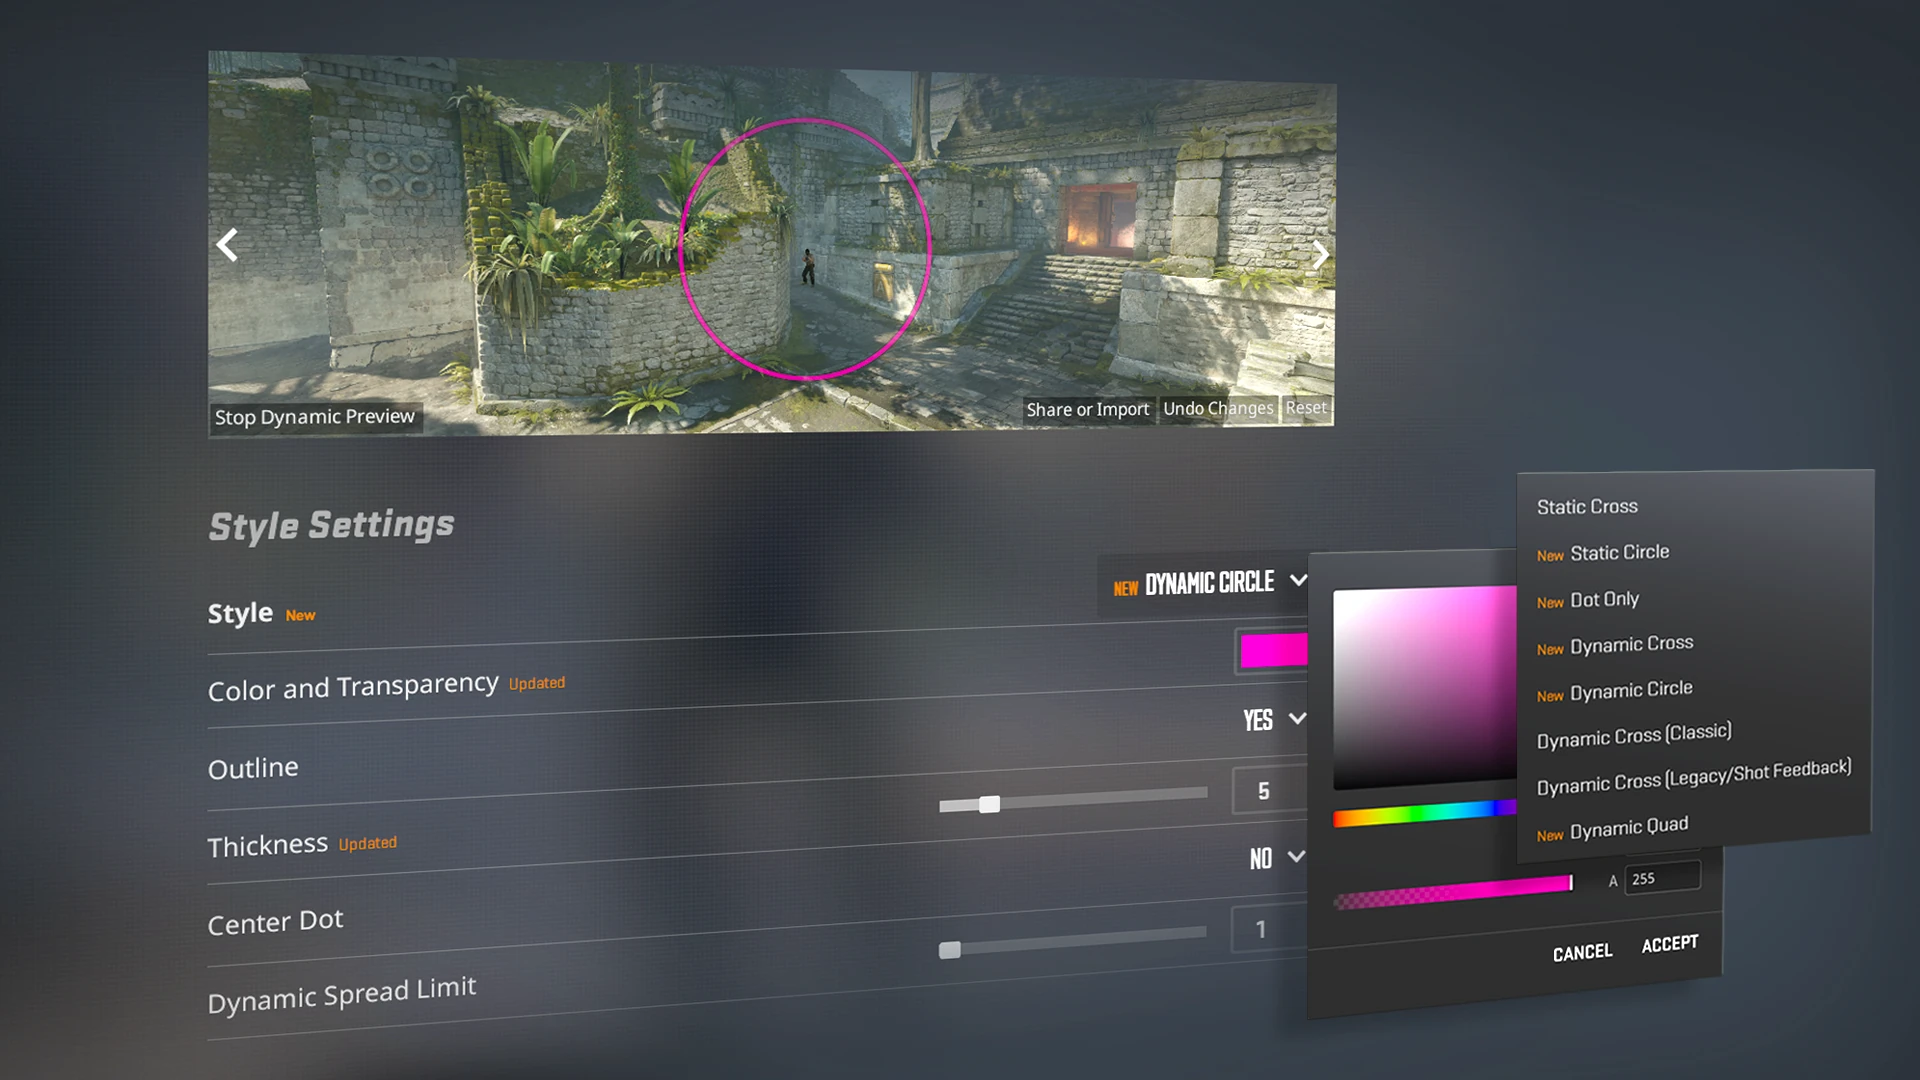
If your CS2 crosshair looks different after an update or a resolution change, start by recording what changed. A different-looking crosshair does not automatically mean you need a new preset. This guide helps you separate the current settings, display resolution, and age of a saved code before you adjust anything else.
What changed in the crosshair system
Valve introduced the Crosshair/Scopes settings section in September 2026. Its September 23 explanation says thickness and length now use pixel units, replacing the previous scale. It also explains that the game automatically rescales the crosshair when display resolution changes. Numbers copied from an older setup therefore need context.
The September 30 update changed the share-code format to include additional settings, including scope-dot scale and colour preferences. That confirms a format change; it does not establish that every older code is broken.
1. Make a before-and-after record
Open the current Crosshair/Scopes settings and take a screenshot. Record the date, display resolution, crosshair style, thickness, length, and gap shown in your setup. Add one sentence describing the problem: centre too wide, bars too long, or shape different from the saved reference.
If you have an older screenshot, keep it beside the new one. Note any missing information instead of guessing it. A cropped image of a crosshair without the original resolution is an incomplete baseline, especially if the image was resized before sharing.
2. Check resolution before changing size
Compare the resolution in your record with the one you currently use. Valve gives a useful example: a thickness of two pixels configured at 1280 × 720 becomes four pixels when the resolution changes to 2560 × 1440, preserving its proportion. A changed pixel count can therefore be expected behaviour, rather than evidence that a setting was lost.
For your own comparison, keep one resolution fixed. Avoid changing aspect ratio, crosshair style, and size together. Otherwise the next screenshot will not tell you which change produced the difference you noticed.
3. Adjust the property you can identify
If the bars look too heavy at the chosen resolution, inspect thickness first. If their reach is the issue, inspect length. If the centre feels too open or crowded, inspect gap. Change one property, record the new value, and compare it with your first screenshot at the same image scale.
This is a troubleshooting sequence, not a recommended set of values. Stop once you can explain the difference. You can test readability afterwards without turning one unexplained change into a complete settings replacement.
4. Keep saved codes in context
Store a code with its date, resolution, and a settings screenshot. When trying a shared setup, ask for a current reference if its age is unclear. Check the actual result in your game before treating a matching name or an old screenshot as proof of an exact match. Do not rewrite configuration files simply because a code looks unfamiliar.
Worked example: a larger pixel count
Your note says: “Before: 1280 × 720, thickness 2. After: 2560 × 1440, thickness 4.” This matches Valve's scaling example. Keep the new resolution fixed and inspect the appearance before reducing thickness. If the crosshair is readable, the larger number alone is not a reason to change it.
Once the settings make sense, use the crosshair visibility check to compare light, dark, and busy backgrounds. That answers a separate question: whether the crosshair works for you while playing.