Settings
How to Choose a CS2 Crosshair You Can Actually Read
Compare two CS2 crosshairs in practice using a simple visibility check, without changing every setting after a missed shot.
Sources checked .
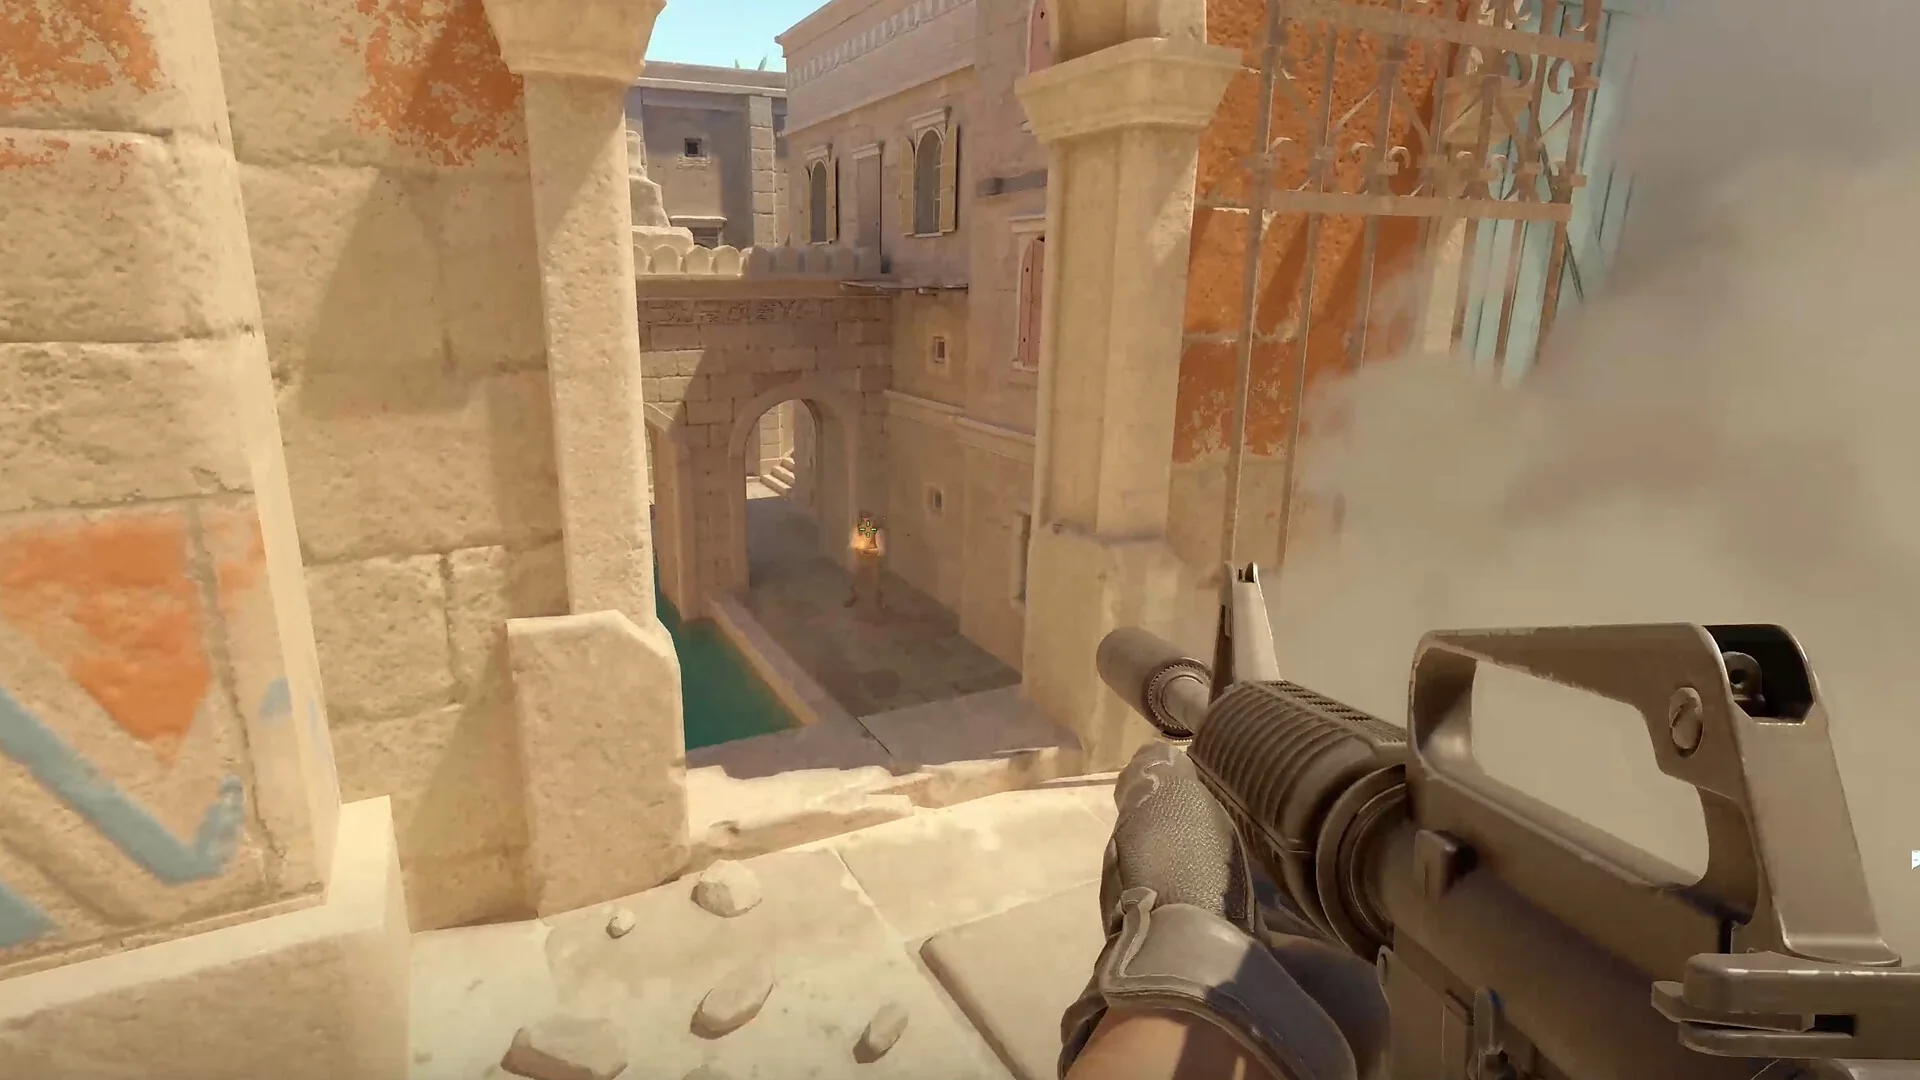
A useful crosshair is easy to find while leaving enough of the target visible. Start with those two requirements, then test a small adjustment in the game. Copying someone else's settings can give you a starting point, but a screenshot cannot tell you whether that crosshair stays readable on your display during a fight.
Start with the current settings
Open Settings and find Crosshair/Scopes, introduced in September 2026. Valve's follow-up explains that thickness and length now use pixels, and that the game rescales the crosshair when display resolution changes. Check the result in your current configuration before comparing numbers from an older guide. Valve's September 22–23 announcements
This exercise is an editorial testing method, not a set of official recommended values. You only need your usual display settings, a familiar practice environment, and somewhere to write two short observations.
1. Save a baseline
Take a screenshot of your current settings and label it A. Keep your resolution, mouse sensitivity, and weapon choice unchanged during the comparison. Write down the specific problem you want to solve: perhaps the crosshair disappears against pale walls, or its centre covers too much of a distant target.
If you cannot name a visibility problem, spend the session checking your current setup before replacing it.
2. Check three backgrounds
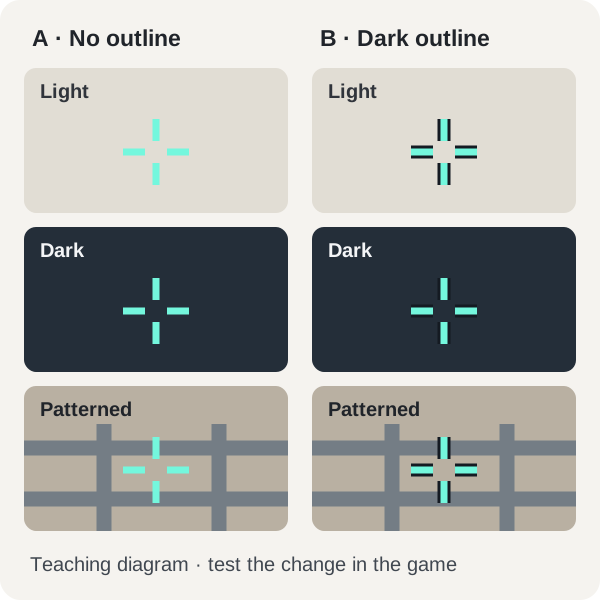
In practice, look at a light surface, a dark surface, and a busy area with several edges or textures. Use places you can return to for the second test. Aim near a small, recognisable detail on each surface.
Ask whether you can locate the centre immediately and still distinguish the detail behind it. A crosshair that looks attractive against an empty wall may become difficult to follow against a doorway or player model.
3. Change one thing
Create candidate B by adjusting just one property available in the settings, such as colour, thickness, or gap. Avoid combining a new shape, new colour, and new size in one comparison: you would not know which change helped.
Return to the same three backgrounds. Use a simple note for each: easy to see, sometimes lost, or blocks the detail. These labels are observations about your setup, not an accuracy score.
4. Add movement and shooting
Move between two familiar positions, settle your aim on the chosen detail, and take a deliberate shot. Repeat with each candidate. Watch for moments when you lose the centre while turning or struggle to judge where you are aiming.
If you compare crosshair styles later, make that a separate experiment. Give each style the same task and check whether its visual behaviour is understandable to you.
5. Keep the clearer option
Choose the candidate that solves your original visibility problem without creating a new one. Save its settings and use it for several sessions before judging again. That interval is a suggested way to reduce constant tinkering, not a proven optimum.
The common mistake is changing settings after every missed shot. One miss cannot isolate a crosshair problem from aiming, movement, or the situation itself. Record a repeated visibility issue before making your next adjustment.
Use a comparison sheet
Keep A as your saved baseline. For B, change one setting and write down exactly what changed. Repeat the same light, dark and busy views with the same resolution, weapon and sensitivity. A useful note names a place and a problem, such as: ‘Pale wall beside the doorway: I lose the centre while turning.’
| View to repeat | A: baseline | B: one change |
|---|---|---|
| Light surface | Can I find the centre? | Better, the same, or worse? |
| Dark surface | Can I still see the target detail? | Better, the same, or worse? |
| Busy area | Where do I lose the crosshair? | Did the same problem recur? |
| Moving between the same two positions | What becomes hard to follow? | Did the change help while moving? |
Keep the change only if it helps with the problem you wrote down. If neither candidate helps, return to A and test a different single setting next time. A clearer diagram is a reason to test an option in the game, not proof that it will suit your display.
Download the crosshair comparison sheet (.txt)Next, put the chosen crosshair through a 12-minute CS2 practice routine with one clear task at a time.
If the shape changed after an update or a new display resolution, use the crosshair size and resolution checks before starting another comparison.